Create and send an invoice
Invoices should be reviewed before sending because they become the customer-facing record for payment collection.
Create an invoice
- Open Tamil Invoice.
- Tap the create invoice button.
- Add customer name and email.
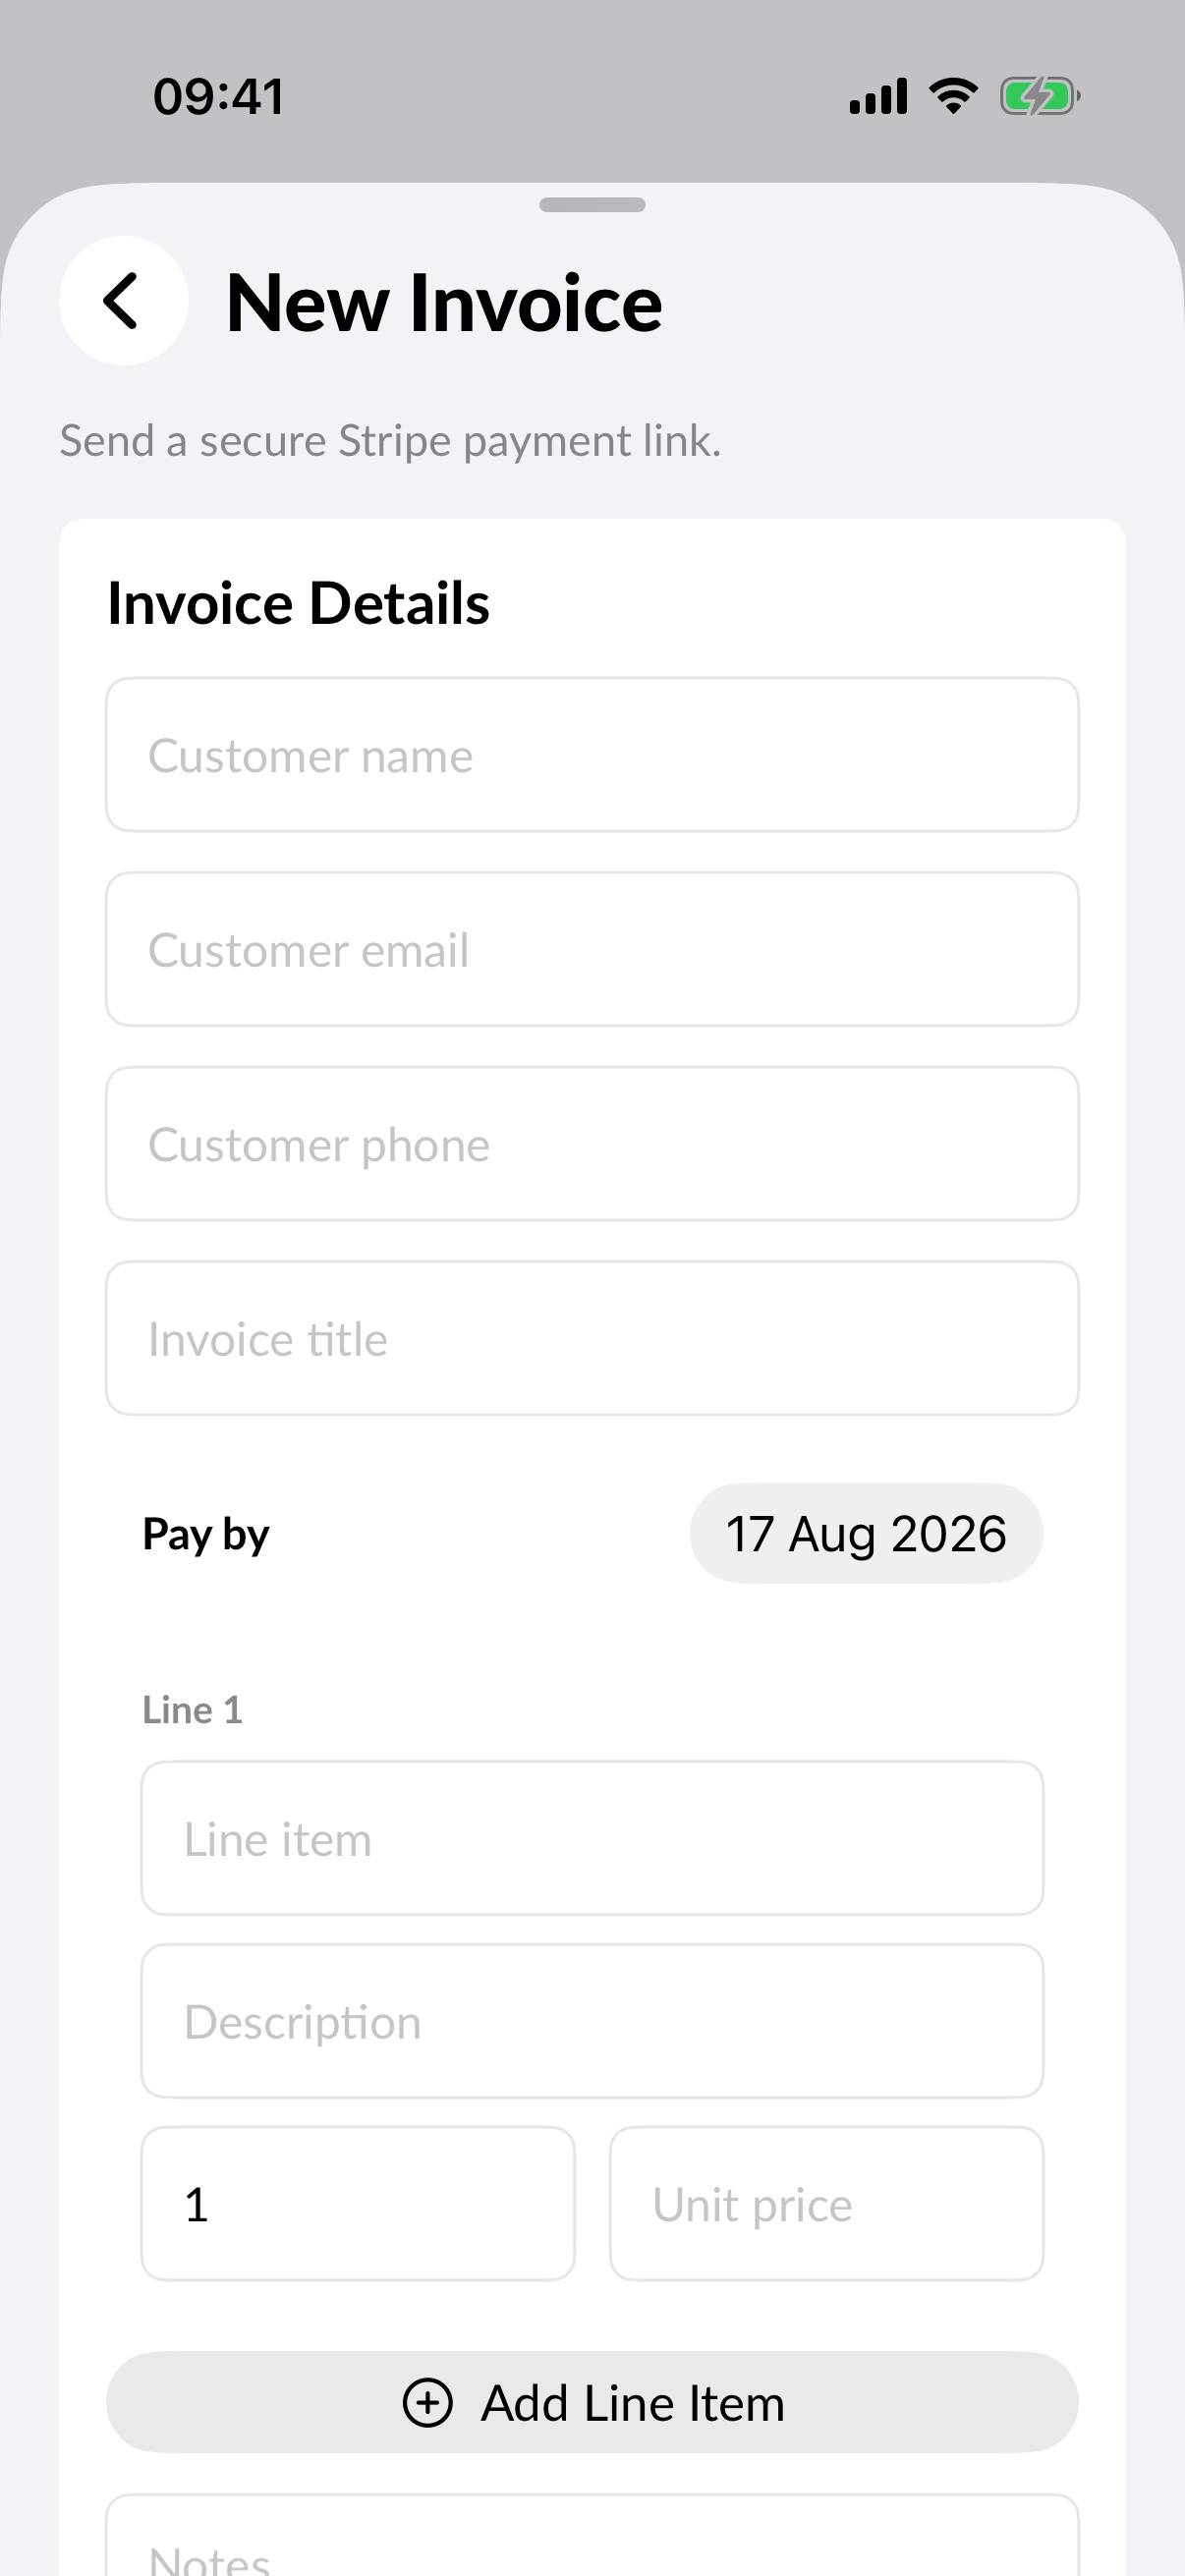
- Add invoice title and line items.
- Add notes if needed.
- Select payment link workflow.
- Review the invoice.
- Send the invoice and track payment status.
Line items
Use clear line item names. Add quantity, unit price, and descriptions where needed. This helps customers understand what they are paying for and helps you review invoice history later.
Due dates
Set a pay-by date for invoices that should be paid later. Overdue status and reminder workflows depend on due dates.
Payment link invoices
When a payment link is selected, Tamil Invoice can send the customer an email with a secure Stripe payment link. The app should show whether the email was sent successfully.
Invoice detail
Open an invoice to review the customer, line items, notes, payment status, and available collection actions.
Cancel or amend
If an invoice is wrong, cancel it and create or amend the invoice as appropriate. Keep notes clear so customer records remain understandable.